The phrase "every skill level" gets thrown around a lot in DIY car care, and with brake jobs it can be dangerously misleading. The truth is more nuanced: swapping pads on a simple floating-caliper setup is genuinely one of the more approachable jobs in home car care, something a patient first-timer with basic hand tools can finish in an afternoon. But brakes are also the one system on your car where a mistake doesn't just cost you money — it can cost you stopping power at highway speed. So this guide draws a hard line between what belongs to beginners and what belongs to someone with more seat time under the car, and it tells you honestly which side of that line your particular job falls on.
What a true beginner can handle
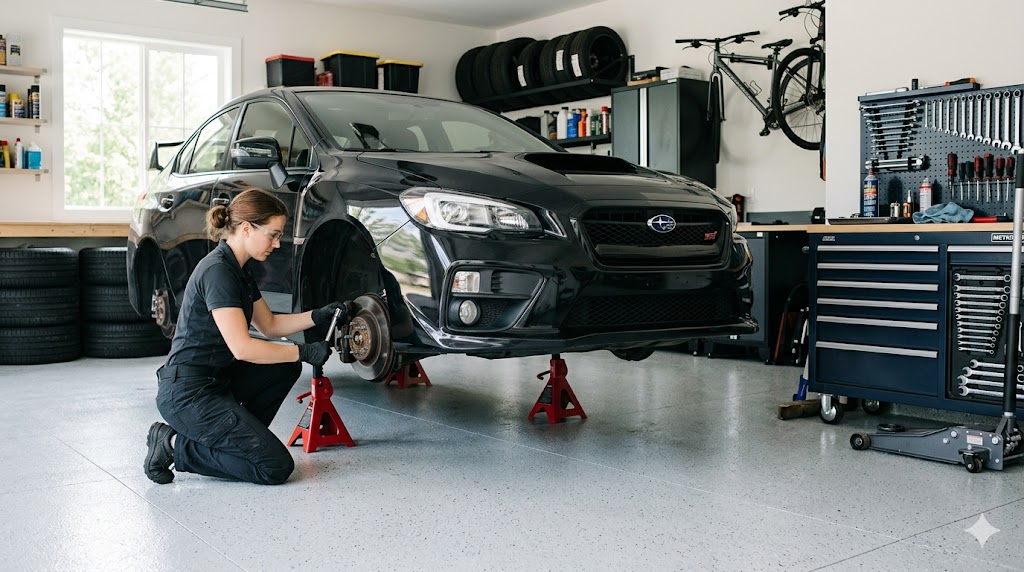
Most cars built in the last few decades use single-piston floating calipers on the front axle, and this is the configuration that makes brake work approachable. The caliper rides on two slide pins, straddling the rotor like a C-clamp, with a single piston pushing the inner pad while the caliper body pulls the outer pad along with it. To service one of these, you loosen the lug nuts slightly while the wheel is still on the ground, jack up the corner of the car, and set it on a jack stand rated for the vehicle's weight — never trust a jack alone to hold the car up while you're working underneath the wheel well. Pull the wheel, and you're looking at the caliper.
From there, the job is mechanically simple: remove the two caliper bolts (usually a 12mm, 14mm, or Torx bit depending on the make), swing the caliper up and off the rotor without letting it hang by the brake hose, and slide out the old pads along with any shims or anti-rattle clips. You compress the piston back into its bore using a C-clamp or a dedicated caliper tool, drop in the new pads, and reverse the process. This "pad slap" is exactly the kind of job the beginner half of this guide's title is talking about, and it's realistic to expect a first-timer to complete one axle in an hour or two, including the inevitable pauses to look up a torque spec or watch a clip of the exact caliper style.
Where the job gets harder
The trouble starts when the caliper itself needs attention rather than just the pads. Slide pins that have gone dry or corroded need to be pulled, cleaned, and regreased with the correct high-temperature brake grease, and a caliper that doesn't slide freely will wear one pad down far faster than the other — a problem you won't discover until the next service, or until you hear metal grinding on one side only. Diagnosing sticky slides, freeing a seized pin, or deciding that a caliper bracket needs to come off entirely for a proper cleaning is a step up in both skill and judgment from a straightforward pad swap, and it's where a lot of ambitious beginners get in over their heads without realizing it.
Rear brakes raise the difficulty further, and not just because they're often drum brakes on economy models, which involve springs, adjusters, and a self-adjusting mechanism that has nothing in common with front disc work. Even on cars with rear disc brakes, many use a caliper piston that also functions as the parking brake, which means the piston doesn't just compress in a straight line — it has to be threaded back in with a rotating motion, using a specific tool. Get this wrong and you can damage the piston or the parking brake mechanism. Newer vehicles complicate things even more: many now use an electronic parking brake, where the caliper piston is driven by a small motor rather than a cable. On these cars, retracting the piston for a pad change often requires putting the parking brake system into a service or maintenance mode through a scan tool before you touch a wrench, and skipping this step is a common way to strip or damage the motorized mechanism. If your car has an electronic parking brake button on the dash instead of a lever or pedal, assume the rear brake job needs a scan tool with bi-directional control, and budget for either buying access to one or having a shop handle just that portion.
Tools, torque, and the safety non-negotiables
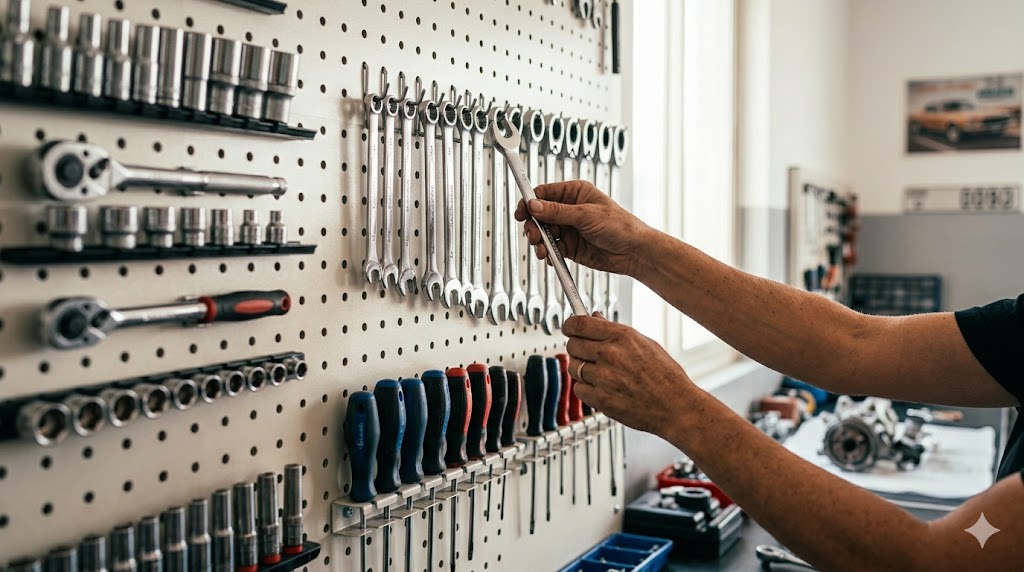
A basic brake job calls for a floor jack, jack stands, a torque wrench, a C-clamp or caliper piston tool, a socket set, brake cleaner, and a thin coat of high-temp grease for the slide pins and contact points on the pad backing plate. Resist the temptation to skip the torque wrench — lug nuts and caliper bolts both have manufacturer-specified torque values, and while this guide won't invent a number for your specific car, guessing by feel is how you end up with a caliper bolt that vibrates loose or a wheel that's dangerously over-tightened. Always chock the wheels that stay on the ground, never work with any part of your body under a car supported only by a jack, and never crack the lug nuts loose after the car is already in the air, since the wheel can spin freely and the whole car can shift.
If your brake job also involves opening the hydraulic system — replacing a caliper, a hose, or the master cylinder — you've crossed into territory that requires bleeding the brakes to remove air from the lines, and that's a skill worth practicing on a less safety-critical system first if you're new to it. Air in the lines produces a soft or spongy pedal, and a pedal that sinks toward the floor under steady pressure is not something to drive on while you figure it out.
Bedding in new pads properly
Once the new pads are installed, they need a proper bedding-in process to perform correctly, and this step gets skipped constantly by DIYers eager to declare the job finished. New pad material needs to transfer a thin, even layer onto the rotor surface, which happens through a series of moderate-to-firm stops from a reasonable speed, followed by a cooling period without coming to a complete stop and holding the brake, which can imprint uneven deposits and cause a pulsing sensation later. Your pad manufacturer will usually include a specific bedding procedure in the box — follow it rather than improvising, since bedding technique varies somewhat between pad compounds.
Warning signs that mean stop and call a shop
Some symptoms are your car telling you this job has moved beyond routine maintenance. A pedal that feels spongy or sinks slowly to the floor points to a hydraulic problem, not a pad problem. Grinding that continues after a pad replacement suggests the rotor itself is damaged or the caliper isn't seating correctly. A brake pedal that pulses under normal braking usually means a warped rotor needing resurfacing or replacement, a job that requires a brake lathe or new rotors and proper measurement tools most home garages don't have. And if you've bled the brakes and still can't get a firm pedal, there may be a failing master cylinder or a problem elsewhere in the system that's beyond a pad-and-rotor job. None of these are reasons to panic, but all of them are reasons to stop turning wrenches and get the car to someone with a lift and diagnostic experience.
Key Takeaways A front pad swap on a simple floating-caliper setup is genuinely beginner-friendly with basic tools and patience. Sticky slide pins, worn caliper brackets, and rear disc brakes with integrated parking brakes require more experience and judgment. Cars with electronic parking brakes typically need a scan tool to put the rear calipers into service mode before the pads can be changed. Jack stands, a torque wrench, and correct procedure are non-negotiable safety requirements, not optional upgrades. New pads must be bedded in with a proper heat cycle to avoid noise, pulsing, and reduced stopping power. If you notice a spongy pedal, persistent grinding, or pulsing after the job, stop and consult a professional rather than guessing further.